
When last I left you, I was lying down in the cool interior of my trailer, recuperating from a too-long session on the hot roof, racing a storm to complete the long-awaited replacement of the fore passive roof vent over my bed with a Fantastic Vent Fan.
Fortunately, I took the proper steps to recover quickly. Within an hour, I was back up and finishing the inside portion of the work.
Back to work
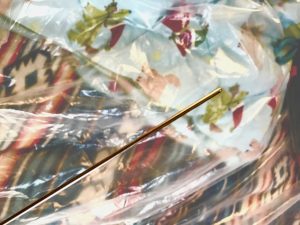
I replaced the plastic sheeting I had thrown aside to lie down when I wasn’t feeling well, to catch any debris that might fall while I was working.
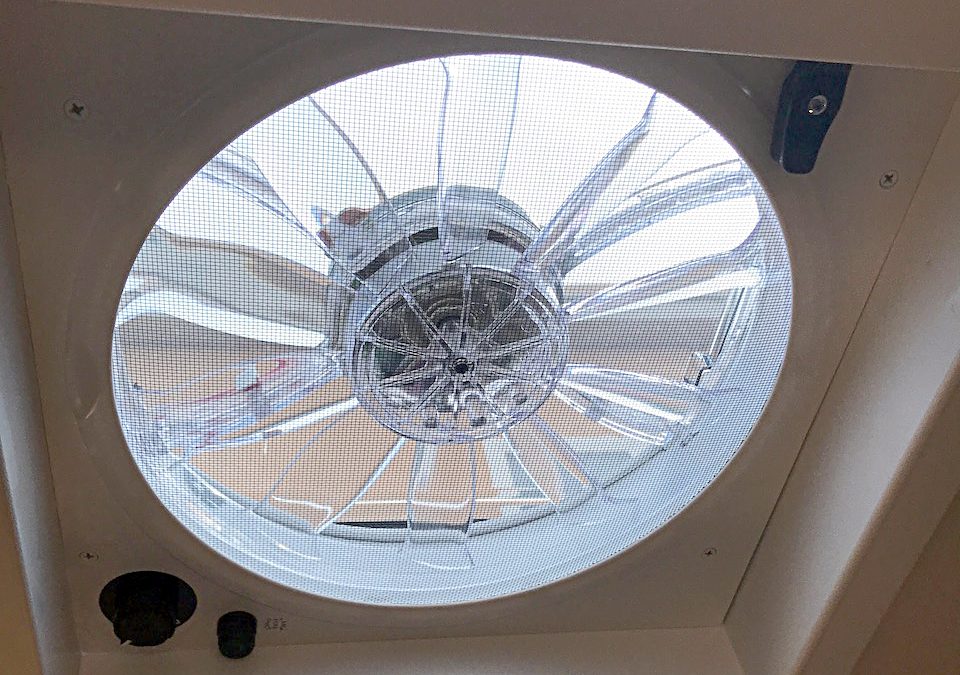
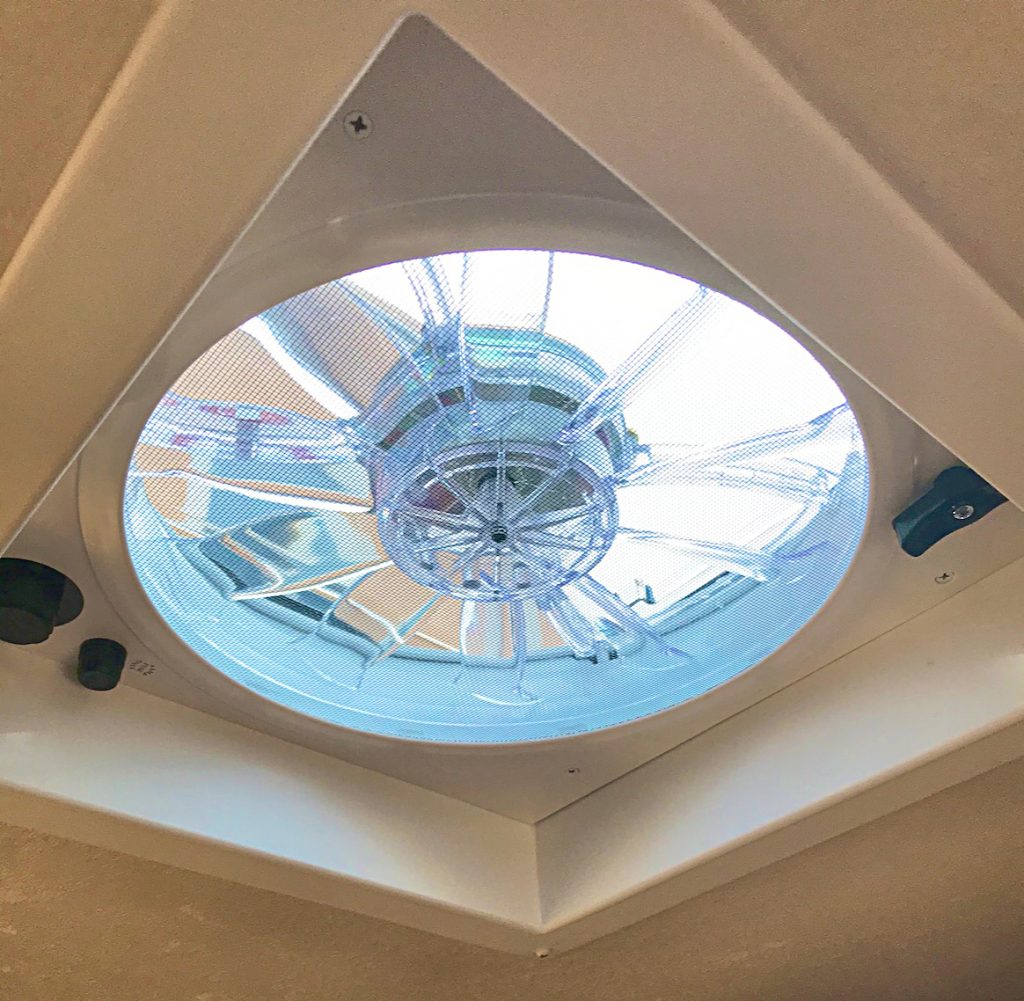
The new vent fan assembly looked SO much better than the ugly, discolored old thing with the cover that had gone opaque in the sun and disgustingly dirty. Very little light had ever come through it since I’d owned this rig. It was so nice to look up into that fresh blue cover that allowed light to stream in, but filtered out a good bit of the heat.
I did not get the reversible model, which I would very much have liked to have, because at the time I bought it, I couldn’t afford that more expensive model. Nor did I get the one with remote control and automatic rain sensor, because my rig just isn’t big enough to need that the remote, and I’m not willing to pay the premium for the auto rain sensor. Not entirely sure I’d trust it to work, either, given the dire consequences if it didn’t.

Bringing the power
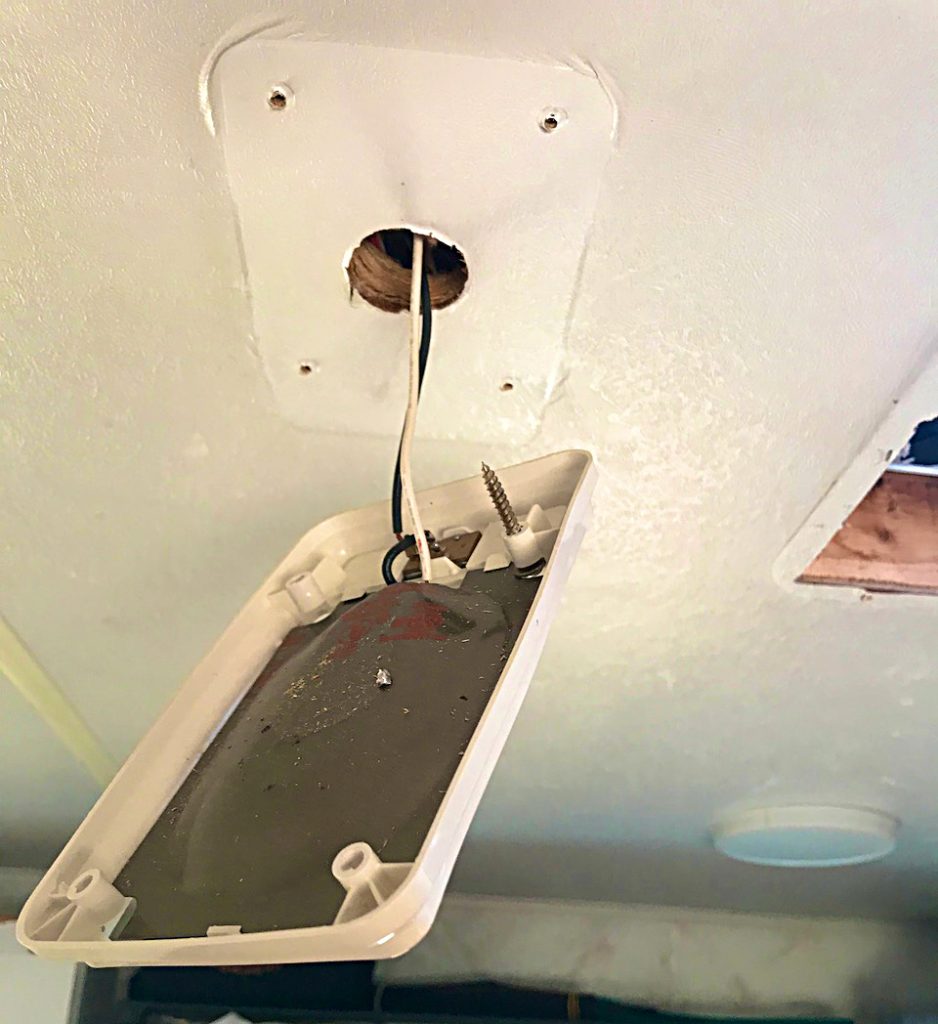
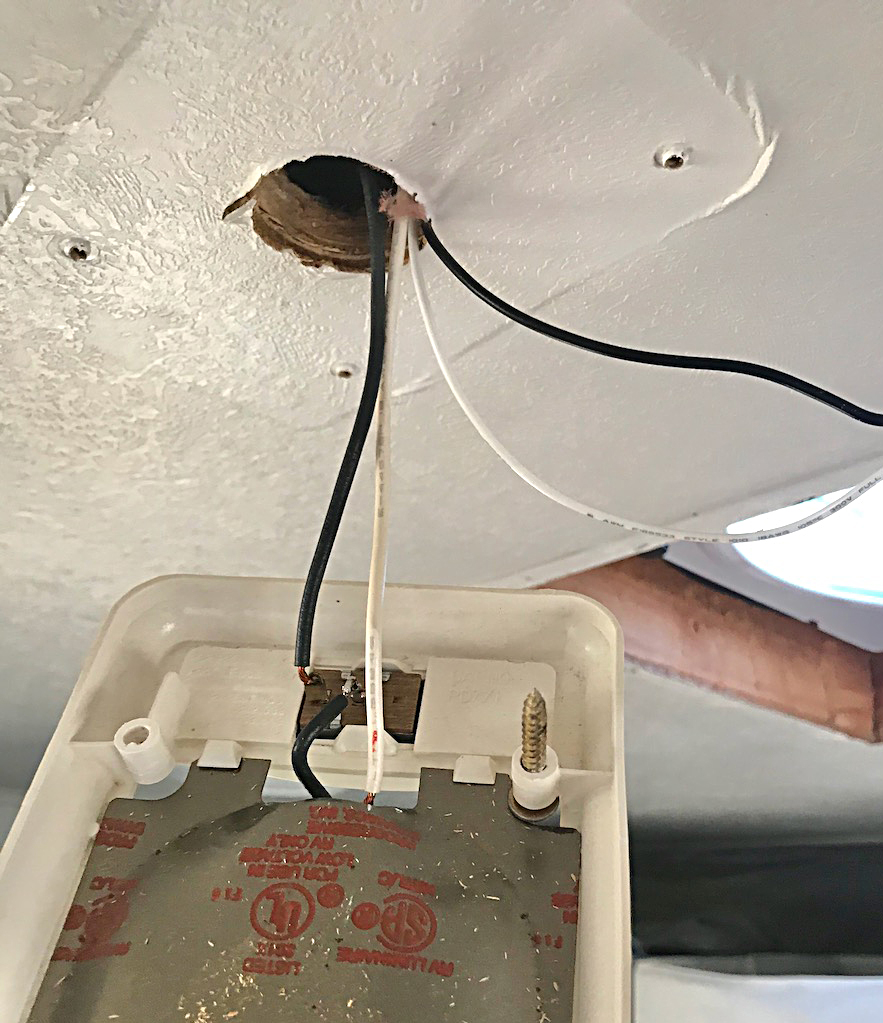
The wires that would supply power to the fan now dangled freely from the ceiling, and posed the next challenge: How to integrate them into the existing wiring to make them live?
I had known all along that the shortest distance would be to splice the wires into those already powering the light fixture just inches away from the vent opening. But how to get them there? There was a clearly rebuilt wood frame around the opening, and several inches of fiberglass insulation between the two fixtures.
I knew the framing was newer than original because when I tapped around it, I could feel and hear the firmness that told me it was fabricated from a 2 x 4. Most of the original trailer framing structure I’ve seen has been constructed of 1 x 4 members. And given the condition of the front of the roof structure, I figured there had been enough deterioration here to warrant replacement when they replaced the original rubber roof membrane with a thin sheet of aluminum.
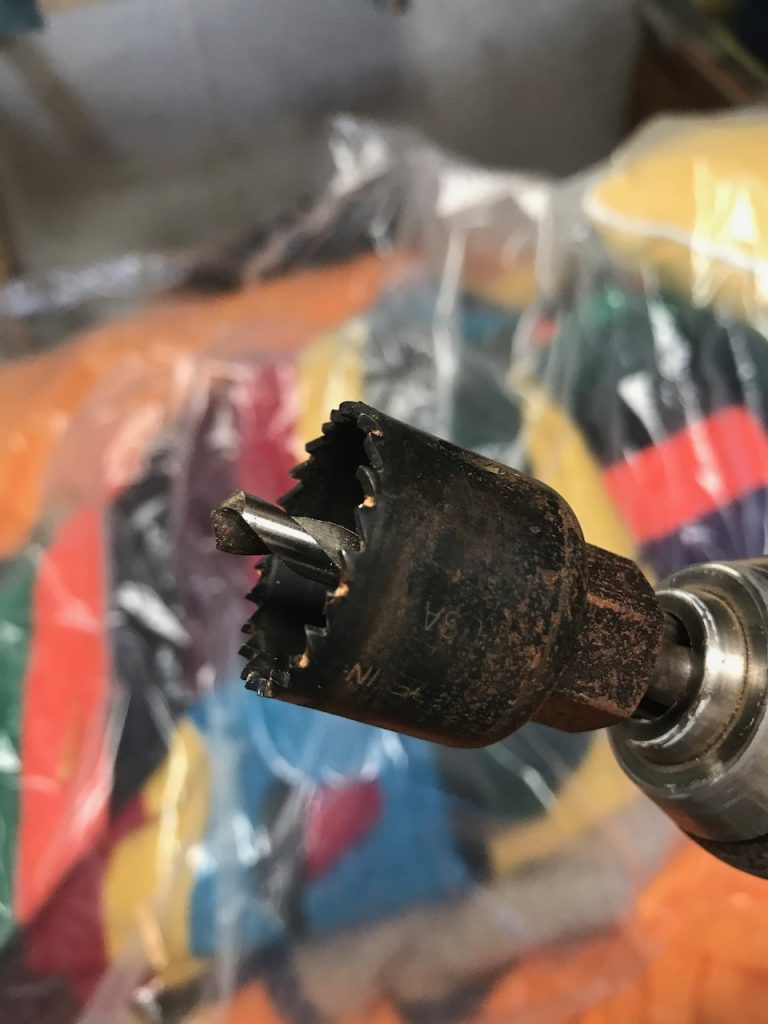
So, I had to figure out how to put a hole in the one next to the light fixture so I could thread the new fan wires through. I carry a small set of hole saw blades in my tool bag, and chose the smallest, a 1-inch one, to do the job. Attaching it to my cordless drill driver, which has some serious torque, I began the hole just fine. But when it got halfway through the member, it started seizing up and smoking.
No way did I want to deal with a fire or get that blasted blade stuck in there. So I reversed the drill and backed it out, stopping to consider my options. I’d originally chosen that blade so I would have a bit of maneuvering room for my fingers in pushing the wires through the insulation. But that was solely for my convenience, and wasn’t completely necessary. All that was really important was that the wires got through.
Plan B
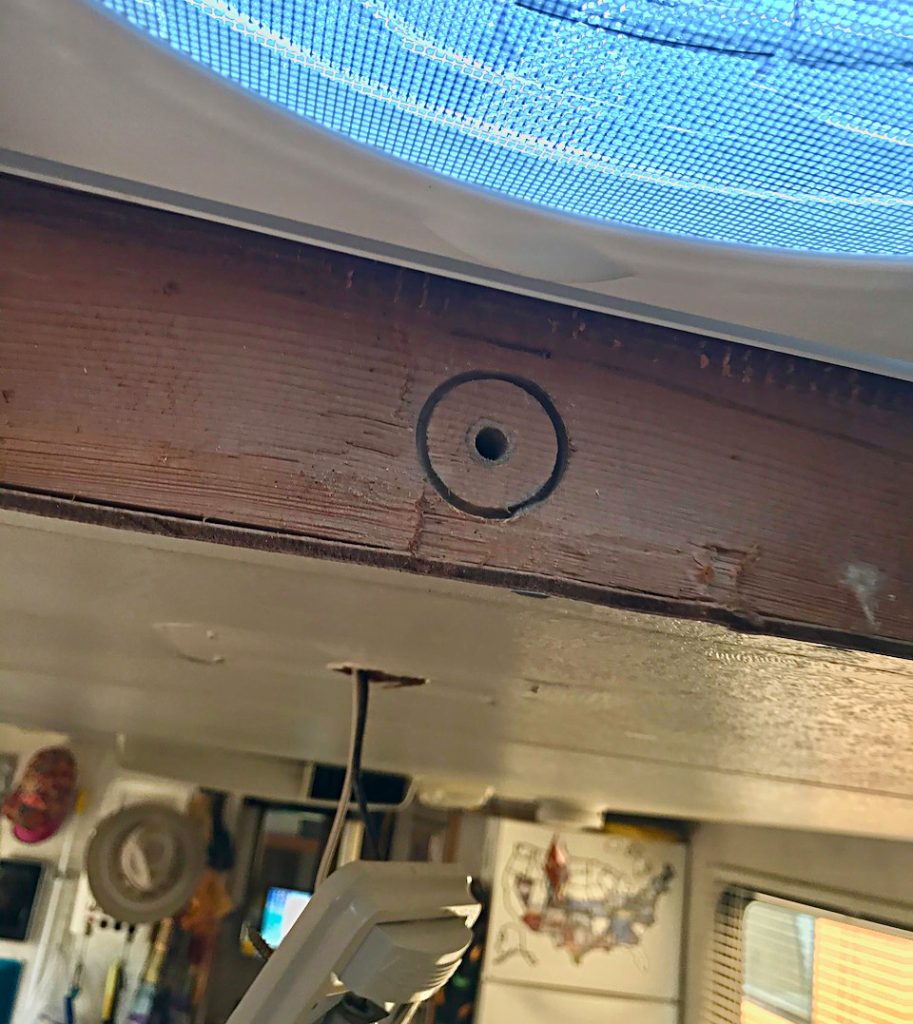
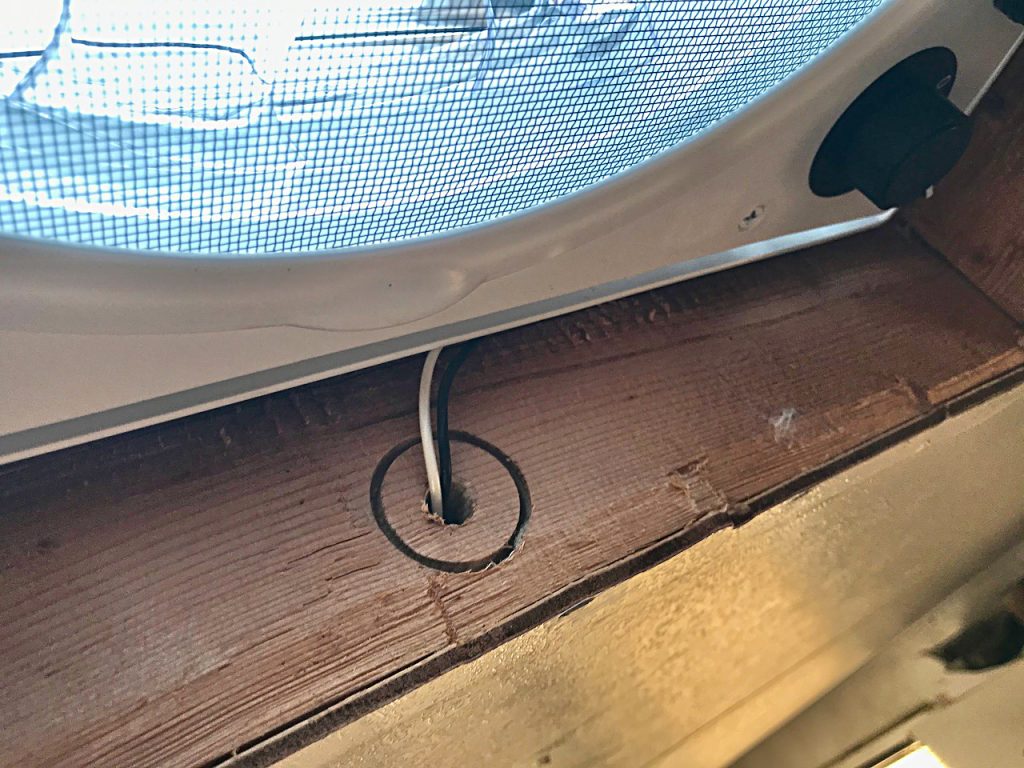
So I formulated Plan B: I would drill a much smaller hole that I could make with a single pit, then use a thin piece of stiff wire to attach the wires to, as a professional electrician uses fish tape. I borrowed a brazing rod from my friends’ art studio next door. It was the perfect size, length and stiffness to get the job done.
I drilled a single pass-through with a 1/4" bit, which was plenty to get through the entire width of the 2 x 4. I then taped the two power wires to one end of the brazing rod, and pushed them through the new hole. I made sure to run them between the top side of the ceiling panel and the bottom of the insulation, both for a cleaner install and to keep them from getting all snagged in the nasty pink fiberglass.
Before I did that, though, I had to dig in my electrical supply box and find a footlong piece of white and a piece of black wire, because the raw wires coming off the fan weren’t long enough to reach the light fixture. Because I am a very visually oriented person, I do keep a selection of different-colored wire with me.
Making do
I didn't have enough quick-splice snaplock connectors, which I knew I wanted to use on the other end, so I used what I had: On the white one, I used a butt connector wrapped with electrical tape to keep it from pulling apart. On the black one, I used spade connectors that I also wrapped. I pulled on them to test their hold, and—satisfied they would remain safely joined and not eventually cause a short or a fire—continued with the job.
As I pushed the wires through with my right hand, I found the end of the rod and pulled them through the light fixture opening with my left. It was quick and easy, and I was pleased with my problem-solving on this one.
Safety issues
I removed the tape and used snaplock connectors to splice black to black and white to white, without having to strip or cut any existing wires. I seriously did not want to do that, in case I made a wrong connection and had to start over. I also was being lazy because I didn’t want to have to turn off or disconnect from power, and though this wasn’t the safest way to do the job, it was safer than if I’d had to handle bare wires. Please note that I have done a good deal of wiring like this, and if I thought I were in real danger, I would indeed have disconnected from power. I don’t recommend you do this unless you have some experience with knowing how electricity behaves, too.
I must also note that—still not really understanding how to use a multimeter—I did not test either line. That was a mistake, because after I got them connected, I tried the fan switch. No go. Damn. If I had used the multimeter (and I do have one, I just need to learn how to use it!), I would have known this before I compromised the lines. Not the smartest move in the world. Please learn from my mistakes. (There are far better multimeters available than the one I linked to, but I only link to stuff I have actually bought or used, when possible.)
Complications
Then I remembered, when replacing the old taillights, that I’d had lots of trouble figuring out that this old Coachmen rig had apparently been built before the industry was standardized around wiring colors. I knew for sure that the standard green wire was not, in this rig, the ground wire. And there wasn’t even a green wire in this process, so that was probably a good thing.
So, I reluctantly removed the snap-lock connectors and switched the wires to connect white to black in both directions. First I had to repair the cut plastic wiring jacket with electrical tape on both. I was glad I had thought ahead to make the first test connection closer to the end of the wires, so that there would be room to make another sound connection should that first one not work.
The only problem was, once I did that and tried to turn on the fan again, it still didn’t work. At that point, I had gotten too warm again and my arms and neck were hurting from working over my head. I decided to call it a day and think on it a bit before deciding what to do next. If worse came to worst, I would at least have a more attractive-looking passive vent that would still allow air AND light through, even if it didn’t actively move that air.
I apologize for not getting images of this part, but I was in serious troubleshooting mode and just forgot.
Part of what made the installation so attractive was the bright white plastic bezel that fits up into the fan’s outer groove for a very finished appearance. This piece is officially called a “garnish ring,” which just seems so pretentious to me. I mean, really: What are we discussing here, a salmon mousse? Please! It makes me giggle every time I think about it. Nevertheless, it’s a very important part of why this installation looks so good, and it’s a very well-designed finishing component.
Read the manual, dummy.
It would only take a day and an accidental discovery to realize that in order for the fan to turn on, the vent cover had to be open. Makes sense, right? If I’d just read the user manual, I’d have known that and not been disappointed at the end of my initial installation session! Lesson learned the next day, when I opened the vent cover and the fan immediately came on, because I had left the power switch on.
Imagine my happiness when that not only happened, but I could feel within five minutes how quickly the heat was dissipating in my living cabin. Even though I’d had the AC running all day (on low, granted), simply opening all the windows and running this new fan along with the existing bathroom exhaust fan dropped the temperature at least ten degrees in that short period! It would drop another five degrees before leveling off about ten minutes later. And now I’m sitting in that comfortable coolness typing this post!
FINALLY!
So, my unfortunate overheating incident notwithstanding, the weekend’s project was a total success, giving me the comfort of active ventilation I’ve sought since getting on the road almost two years ago. I couldn’t be happier with the outcome, and am so glad to have this job in the rearview mirror!
well, how does the fan perform? Is it awesome?
Jeff, the Fantastic Fan performed well, but I must admit that I much prefer the MaxxAir roof vent fans I installed in my two subsequent rigs. I like the configuration of the controls better, it’s quieter when operating, and most of all, it has an easily removable screen that you can quickly wash all the hair and dust and debris out of to allow optimal airflow. The MaxxAir IS more expensive, but not that much, and I strongly feel it’s worth the price premium. Hope this is helpful.