
While dealing with The Winter That Wouldn’t Die over the past few months, I’ve been stressing about getting farther behind in working on the trailer. When I’ve been able, I’ve stolen a couple hours here and there to go out and do what I can, so I don’t feel totally without progress. That’s when I work on small odds and ends I can do without having to be outside, and with only a little time.
Last week, I took care of getting one thing finished and a couple others started.
Television Mount Board
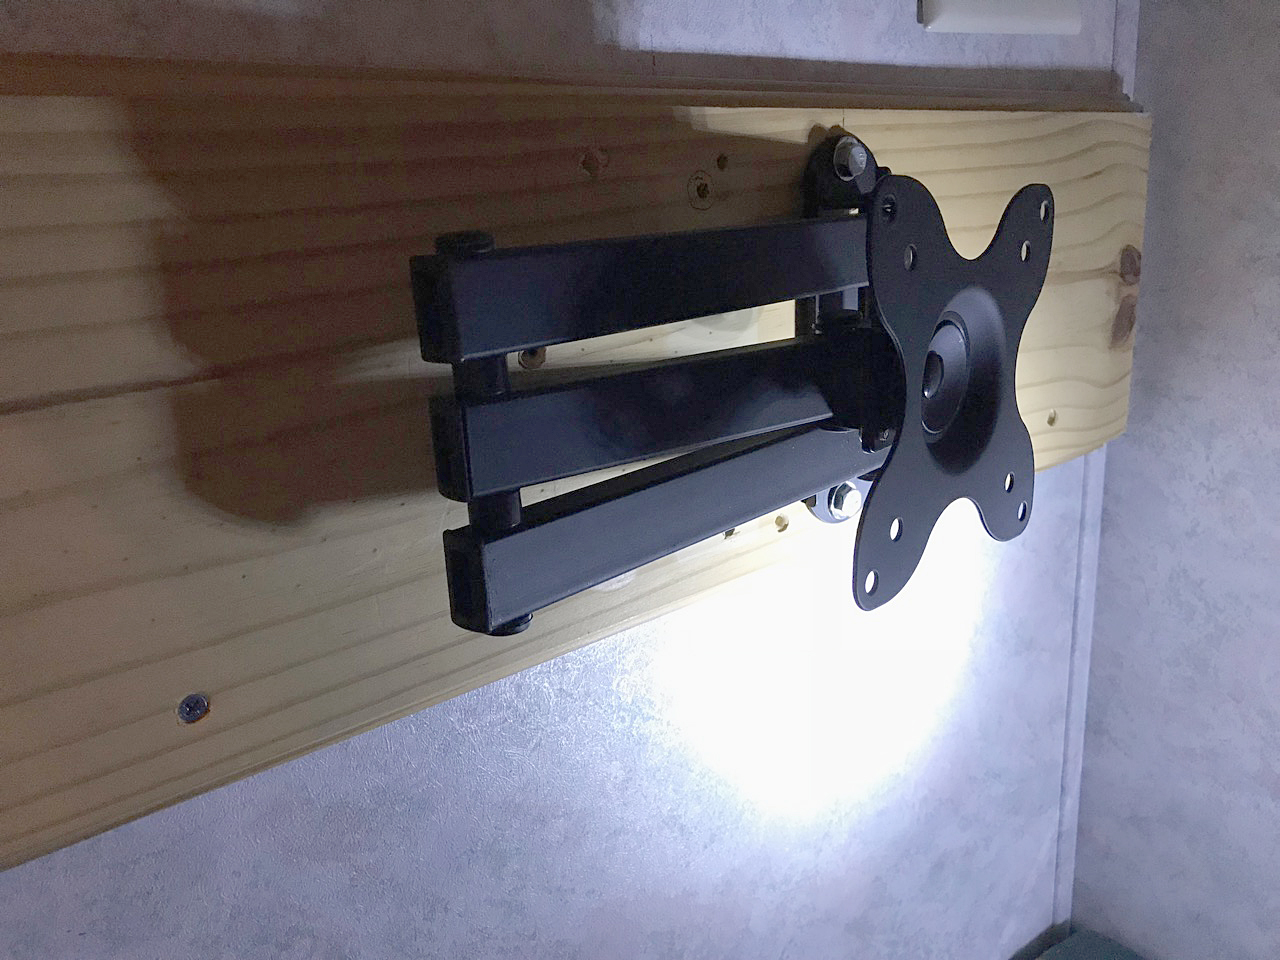
 First, I wanted to finish getting my TV mount on the wall near the AC power receptacle I had moved to the foot of my bunk from where it had been over the refrigerator, which was described in an earlier post.
So, I removed the mount board that came with the trailer from the side of the fridge that faced the door. I turned it so the decorative beveled edge faced outward and the straight-cut side faced the wall, and took a good look at it.
I knew that I wanted the steel articulating arm to be able to move outward toward the hallway, because the flat screen TV I’ll be mounting there has a built-in DVD player I will only be able to access by pulling the set away from the wall.
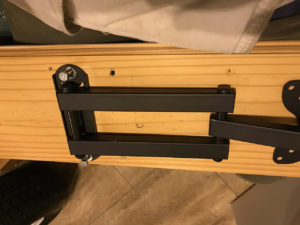 So, I also turned the arm upside-down to accommodate that movement. Then I measured it for how I wanted it to sit when closed, vs. where I wanted it to go once opened.
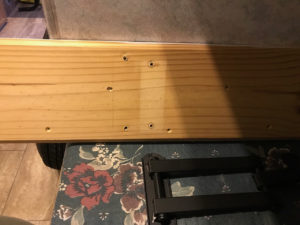
I marked the screw holes and drilled them using my handy new cordless drill. That drill is definitely the most expensive tool I’ve ever owned, and I love how solid and heavy duty it is, and how well it performs. You really do get what you pay for…
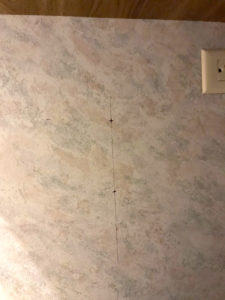
 Once that was done, I used those holes to locate matching ones on the bunk wall, and drew out those lines and hole locations.
Then I fastened the articulating arm to the mount board, making sure one last time it would open the way I intended it to. At last, I attached the whole assembly to the bunk wall, where it awaits my decision on whether or not to install new wallpaper around the bunks (they’re mostly hidden and may not be worth the work) or just paint over the old ugly stuff.
Taking Stock
Next, I had been thinking about how to handle the under-seat storage in the dinette. It was a problem, because since I was going to be using it as an office instead of an eating area, two of the three bench seating areas were going to be more or less permanently out of commission, as far as getting into them easily from above.
Happily, this was not an issue, as I have previously earmarked both of them for storage of outside gear and trailer maintenance items, since both sides of these “basement” storage areas were also accessible from the outside cubby doors. I knew that both of those areas I would eventually insulate with sheet Styrofoam, mostly to keep out any cold air during cooler weather. That meant I would have to also wall them off from the one under-bench storage compartment that I did actually want to use for topside storage, because there’s not a lot to begin with.
But for now, the challenge was how to do that without always having to disassemble the office setup, lift a seat cushion, and dig down in there. I decided that the solution was to create a new access point, and the only one available was in the bottom sidewall of the seat unit.
I knew that, left as it was, much of that storage area would be wasted, because the seat was deeper than most containers would be. And I definitely wanted a container, to keep whatever I was storing there—most likely clothes of some sort—separate from the dust and sand and dirt that would inevitably get kicked into the compartment through small seams around the cubby door.
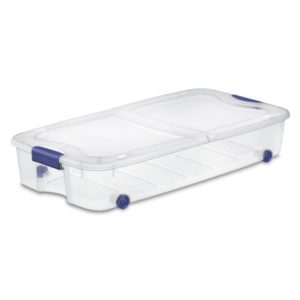 After pondering for some time, it came to me that I’d seen long, flat plastic containers with built-in wheels, intended for under-bed storage in a house. That would be perfect, as I could slide it out on the floor and never have to completely remove the container from the compartment while still being able to access everything in it.
Unfortunately, most of these were intentionally shallow, which would still waste space. Still, I began looking for one. As usual, I wanted to avoid paying full price if I could, because these containers weren’t cheap. They started around $35 each and went as high as $55. So I cruised around the Facebook Marketplace and found not one, but FOUR of these little wonders for sale from the same seller, for $28 total!
You can bet I sent a private message as fast as I could type it, and three days later, I was driving home from a nearby town with four rolling containers in nearly mint condition. I had no idea what I was going to do with the other three, but I could resell them if necessary. And as I drove home, I realized I could stack two of them to utilize the most available space! All I’d have to do would be to build a thin door that would keep them in place so they wouldn’t roll around while the rig was in motion.
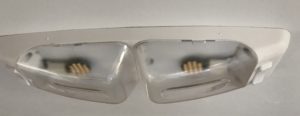
 So there I was, staring at the seat sidewall, wondering exactly how this setup was going to work. In my mind’s eye, I could see a little hinged door of the basic shape outlined in white dotted line on the photo here.
But then I realized that a bottom hinge would impede the ease of pulling it out onto the open floor where I could see and easily access the contents. A top hinge would fall back down onto the container and be annoying. And hinges on either side would create a large swing pattern that would likely end up with my shins being battered or simply an inconvenient sweeping of the area.
So, for then I just let it go. I’ve learned that often my brain does much better when allowed to ruminate on a challenge for some time before it figures out a way to surmount it. Such was the case this time. A few weeks later, I was watching a YouTube video by a guy who lives in a tiny little A-Liner popup trailer, even smaller than my rig.
He had put together a series of tips for those in tiny trailers, and one of them dealt with the exact issue I had here. And his solution was both elegant (in the mathematical sense) and clever. He opted to forego the hinges altogether, choosing instead to build in a sliding door that essentially sat inside two wooden tracks created from cheap, easy-to-find channel molding that closed flush up against the seat wall. So, I filed that idea away for future use until I had another day I needed to spend indoors, and moved on to the next project.
 Lighting
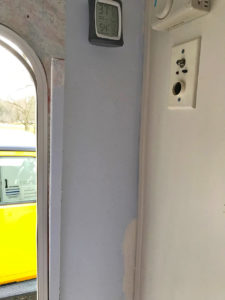
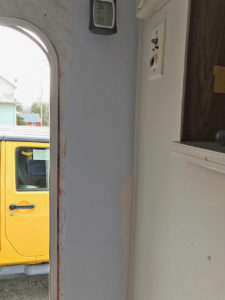
Getting up from the floor, where I had been considering the seating issue, I looked at the ceiling light fixture above the dinette. I couldn’t help admiring how nice it looked with the bright, new LED light panels in place of the old, dull, incandescent bulbs. I thought I’d take a photo so you can see how they look when the lights are off. You can clearly see the LED panel inside in this shot.
Entry Door Trim
The light was beginning to fade by then, so I knew I only had time enough for one more small project. This one was going to be one of those that was dependent on another project getting done first, but I figured I might as well get it done as part of the prep work for the other one. When you’re working in such a small space, it’s amazing how many things affect others like that.
 Once I had relocated all the electrical controls, I had painted the side wall of the cabinet that housed the fridge and faced the entry door. I used the antique white I intended to use on the rest of the cabinetry when that time came. Once that was done, I wanted to hang three narrow, deep storage bins I’d gotten from IKEA, but there was a catch: First, I had to get the wallpaper hung in the adjacent corner—the wall holding the entry door—or else I’d have to undo all the mounting work when it came time to do that.
 So, it made sense now to pull away all the ugly and haphazardly installed trim around the door, since that would also need to be removed prior to wallpapering. On the positive side, the wallpaper will cover a multitude of design sins, not the least of which is the ugly door trim. I would replace it—it was needed to finish the gap around the entry door—but I wanted to be able to choose what type of trim and its design, rather than simply acquiescing to the default original design.
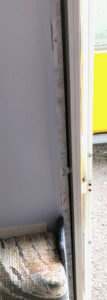 So I began carefully pulling up the cheap staples the thin trim strips were attached with. I didn’t care about saving the strips, just didn’t want to gouge the walls if I could help it. The last piece to come off was this fabric-covered panel over the top of the door. At the time it was designed, I’m sure this was all the rage, trend-wise. But now it was just lame and looked like an afterthought.
So I removed it, careful to keep it in one piece. Later, I would tear off the fabric cover, add a mini plate rail to it, and use it to showcase tiny knick-knacks that I would choose both for their personal meaning and for their ability to withstand a lot of shaking and jostling as we went down the road.
 With that done, the door looks truly ugly now, but I can see in my mind’s eye how it will look when I’m done with it.
These are small, perhaps niggling details to most folks, but this isn’t just going to be a camper, it’s going to be my home, and I want it to be a space I enjoy spending time in. So I’m okay if someone else thinks I’m spending way too much time considering all my options. They won’t be living there with me, and probably don’t know a whole lot about intentional living.
For now, with every small task like this I complete, Wildheart becomes more and more my home. And I’m good with that.
Recent Comments