
Since I had taken delivery of my trailer, I knew the porchlight wasn’t working. I believe the culprit was corrosion in the switch, due to — you guessed it — water intrusion from lack of proper installation. Once again, no butyl tape had been used to keep rain from seeping in behind the fixture, and the switch, located on the bottom of the housing, had been massively dripped upon and even used as an escape route for the running water. It was clear where it had dripped off the fixture after inundating it, so it had only been a matter of time till it would no longer work.
The old porchlight fixture, minus the lens.
The first time I tried it, I pushed in the old metal push button post…and it just stayed there, pushed all the way in. It was stuck in the on position, but even though I had just charged the battery, there was clearly no juice getting to the fixture. So, off it had to come, and be replaced by a newer one. Fortunately, this was neither a difficult nor expensive fix. Took me about an hour of time, including cleaning and prep, and the new fixture was under $15 with tax. Always thankful for small victories.
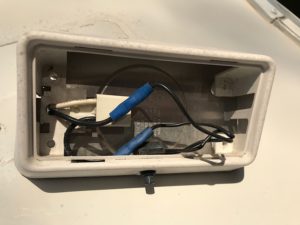
Old fixture removed and cleaned
The first task was to remove the old fixture and clean off the bead of silicone that had not quite done the job. This was relatively quick, just the removal of four attaching screws, detaching the four wires, and scraping down the side panel of the trailer to clean it off for the new installation.
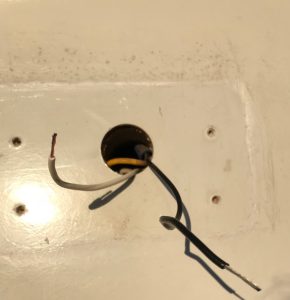
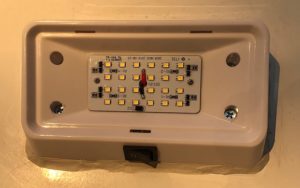
Next, I removed the new fixture assembly from its packaging, took the lens off, and turned it over to get familiar with the wiring scheme. It was very straightforward: red for negative and block for positive (I know, it’s just the opposite of battery cables — this can be very confusing.). The labeling was very clear and helpful, so I wasn’t worried about installing it backwards, causing reverse polarity and possibly causing a short and blowing a fuse.

The back of the new porchlight fixture
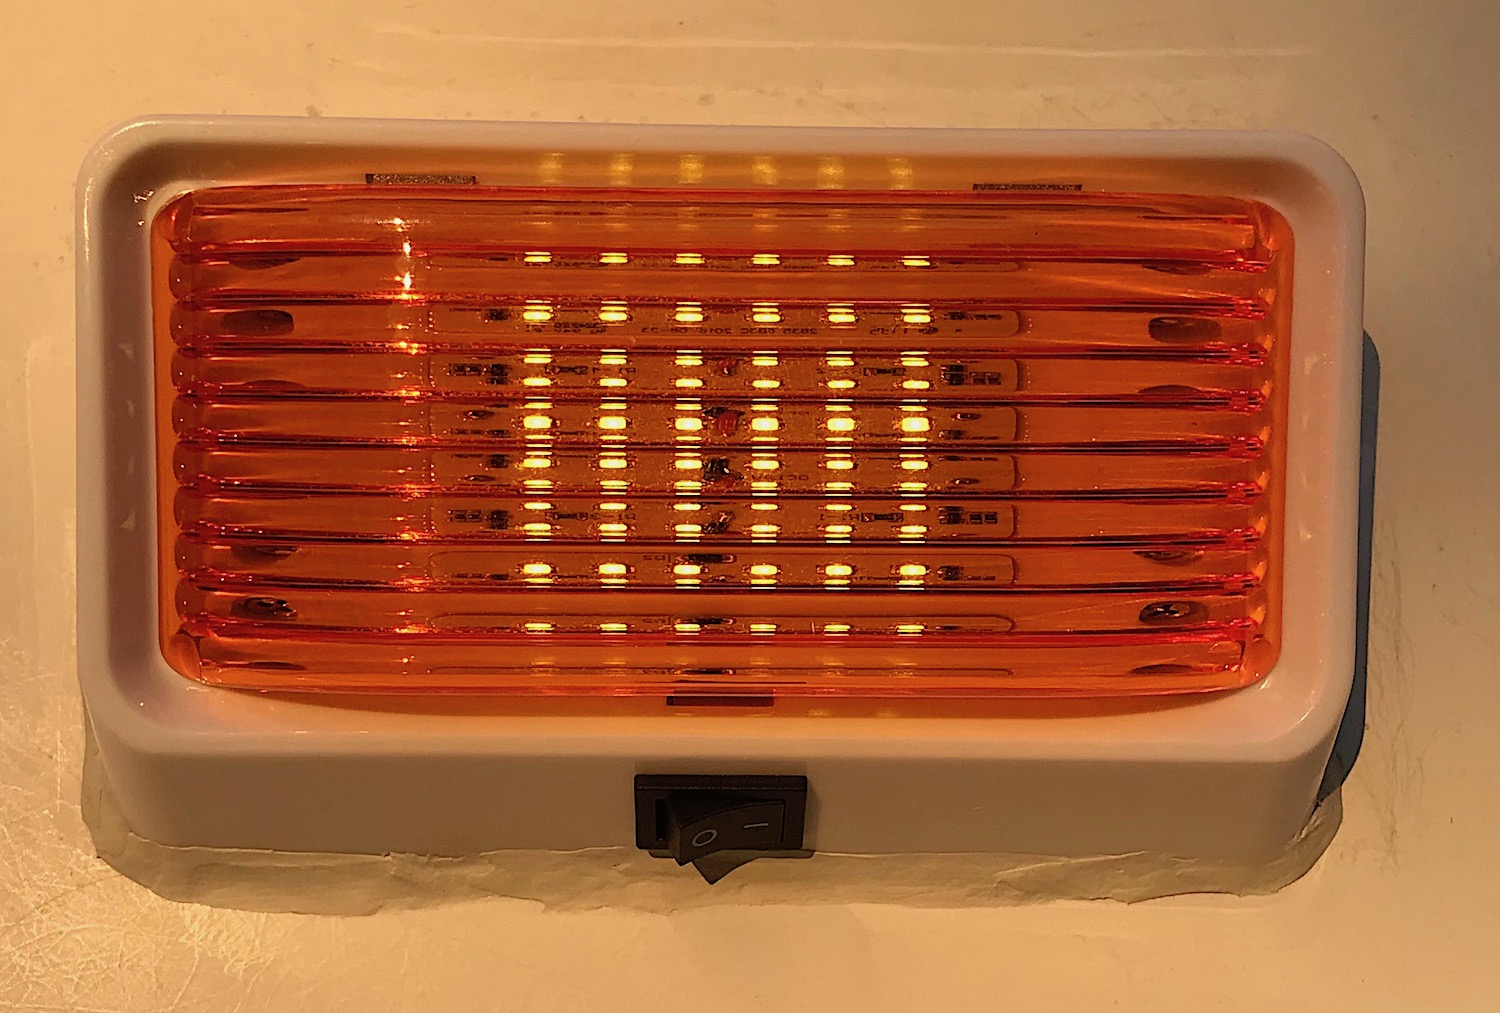
Wired and working! Note the LED bulbs all lit.
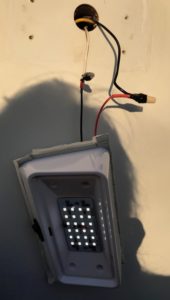
In very short order, I had the wiring attached with the connectors, and finished off with electrical tape to insulate against shorts. The tape also adds support against wiring being pulled apart while being jostled on rough roads. I tested the switch to make sure it was working properly before going to the trouble of attaching it to the rig.
Next, I carefully folded all the wires behind the housing so they wouldn’t crimp or be forced apart by travel movement. Then I added a thin bead of butyl tape around the outer rims of the housing, and positioned it so the screw holes lined up with the holes in the housing. The four screws were quickly installed using the power drill/driver (God, I love that thing!), and it was mounted!
New porchlight fixture, properly mounted.
Once I had that finished, all there was left to do was click the amber lens into place. A clear lens would be brighter, but in a campground with other folks, you don’t want to be throwing too much light into their spaces. Plus the amber lens is far less likely to attract flying insects. And voila — she was finished!

New porchlight, installed and completed!
I would allow the self-leveling butyl tape to get settled into place and “cure” a little, then run a bead of silicone caulk around the outside of the housing where it attaches to the panel.
Speaking of which, it was time to do that to the stove vent housing on the other side. Here it is before I ran the silicone bead, and you can still see the raw butyl gasket sticking out:
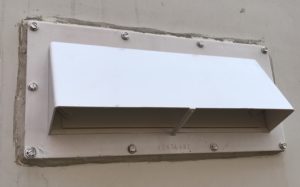
New stove vent is ready for its final bead of silicone caulk sealant.
Mary, it’s starting to come together right nicely. I didn’t know just how handy you were! If I lived closer, I think it would be fun, if not a learning experience, to help you get road ready.
Oh, Anita — I would LOVE that! Maybe by the time I get down to your neck of the woods, I’ll have a “home improvement project” we can work on together!
Once again you amaze (inspire) me. . . New light looks great and agree with the amber lens regarding neighbors And insects. You are making great progress.
Thank you! I am doing my best, but it’s VERY time-consuming and I’m starting to get nervous I won’t have it all done before I need to take it in for its state inspection next week!