
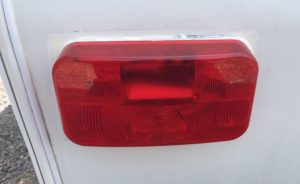
In an earlier post, I mentioned that I’d soon need to be replacing the non-functioning, ugly taillights on Wildheart. Well, that time came about a month ago, as I began getting ready to take her in for her state inspection.
Old, taped-up driver side taillight
In between days of rain, a sunny afternoon finally surprised us all on April 25th. I traded that normal workday for a gloomy Saturday I knew was ahead and played hooky for the day to work on the trailer.
I needed a sunny day when I could work outside uninterrupted, because I was going to be working with electricity, I needed the light (and more warmth than there had been for a while), and I would need to clean the outside panels and dry them well to prepare for sealing around the light fixtures. So, the 25th it was!
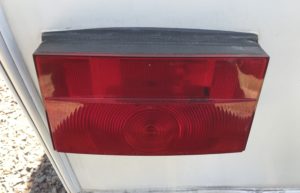
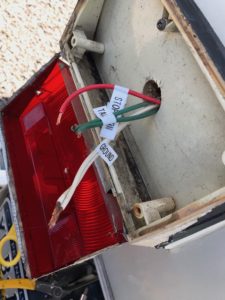
The old, corroded passenger side taillight inside
First, a refresher on the nasty old taillight fixtures: This trailer is not equipped with reverse lights (yes, it was made that way, as many are. I as shocked to learn that backup lights are not required on travel trailers), so that’s why the second bulb was missing in both fixtures. But even the ones that were present were corroded at the base, their feed wires were corroded, and one’s base connection didn’t even seat correctly in the holder, so no actual connection was being made. They needed to go.
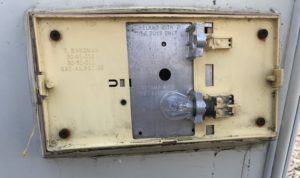
One of the rusty old screws
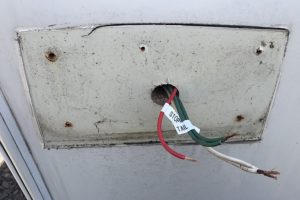
I removed the passenger side fixture first, removing the rusty old screws (one just slid right out—its grooves had completely rusted off until it looked like a straight nail!). I pulled it off to expose the wiring and paid special attention to which wires were which.
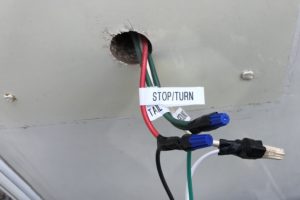
Wires clearly labeled
To make sure I wouldn’t forget which wires went where, I took the time to label them with my trusty labelmaker (I love that thing, and it’s coming with me!). I was very glad by the time I got into the job that I had.
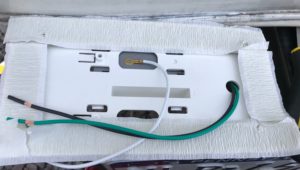
Assembly off, just wires left
Once I had the old fixtures off, I had to clean up the panels and remove the old silicone bead of caulk around the outside. Once again, there was no butyl tape or other gasket material. I’m sure that’s why the corrosion occurred so badly. Regardless, it was gross inside there. Lots of old leaves and maple “helicopters” and dirt and God knows what. Eww.
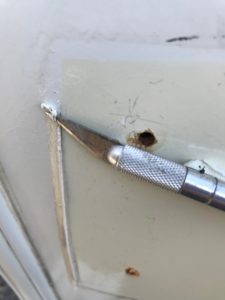
Sealing caulk removal
After I cleaned the panels with wet wipes as well as I could, I proceeded to painstakingly remove the old seal bead. I realized it wasn’t silicone but acrylic or latex, because it was mostly hardened. This made it difficult to get off, since it broke into little pieces. I was grateful for my years wielding an X-Acto knife for work as a graphic designer, because my ability to handle it safely and in a very controlled manner really got the job done. I’ll tell ya, even 15+ years after leaving that profession, I am still never without 3 or 4 X-Actos. It’s just the most versatile tool!
Shiny new fixture
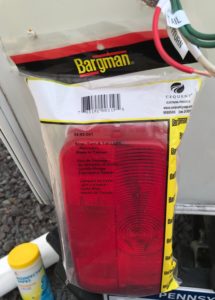
Once it was all cleaned, the prepping was done and I could get down to the business of installing the new taillight assemblies. I bought a couple at a local (well, more or less—anyone who lives around here knows very few stores of any specialization are truly “local”) RV camping store. It was my first such trip, and I was amazed (though I shouldn’t have been) at the plethora of specialized RV products there are!
Butyl tape applied
I proceeded to first read the labels on the housing to accurately identify which wire was which, in this case green being ground, black being positive and white being negative. You’d think they’d make black negative, since that’s what it is in the actual battery power world, but nooooo! That would be too easy and actually make sense!
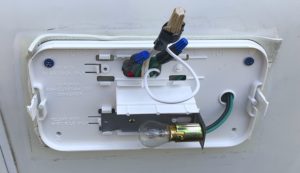
The new fixture all wired up!
I first applied the butyl tape around the edges—these assemblies were going to be properly installed!—then joined the wires using plastic wire nuts reinforced with electrical tape. I’ve learned to treat all joins as though they will be jostled on a daily basis by a 3.0 earthquake and might shake apart, because in effect, that’s what happens in a moving vehicle on the road, especially the kind of washboard roads you find in the desert Southwest where I will be spending my winters. Nevertheless, I left the wire labels on in the unlikely event that this rig outlasts my use of it and some other poor schmuck needs to change them out again.
New assembly attached, butyl extrusion showing
Before I attached the new fixture base, I tried lining up the screw holes. Only two of them actually lined up, so I filled the other two with butyl tape covered by silicone caulk before drilling new ones using the base as a template. Then I attached it using four new stainless steel screws instead of the inappropriate drywall screws used previously. The stainless ones wouldn’t rust and loosen.
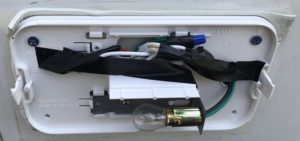
Wires taped in place and ready for the red lens cover
The one thing about the new wires was that they were bulkier and took up more space, so I finally had to use some electrical tape to hold them in place while I fitted the red lens over the new housing. It probably will look a little funky to the driver behind me, but it’ll work.
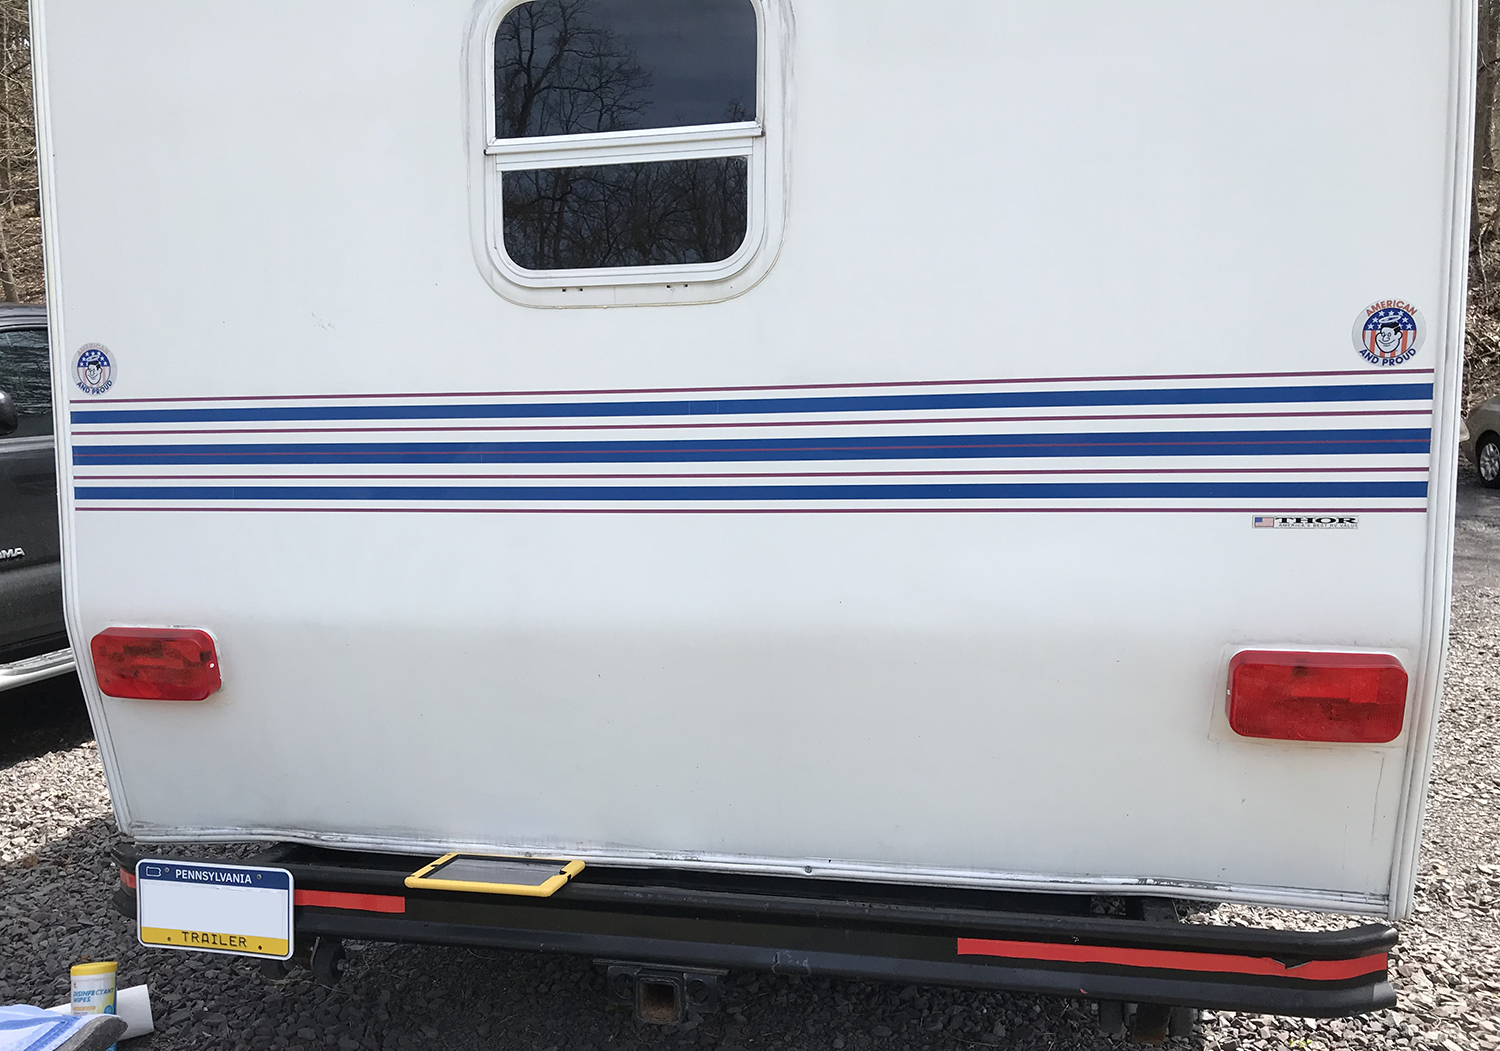
Finished driver side taillight
Lastly, I snapped the red lens cover over the base, and molded the extruded butyl tightly around the base, trimming off any extra. I’m currently allowing it to get settled and hopefully we’ll get a few dry days in a row to really let it cure a bit before I add the final bead of silicone around the base edges.
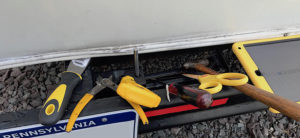
Handy back bumper holds my tools!
While I was working, I found the rear bumper a very handy little shelf on which to place my tools and my iPad while I worked. I used the iPad both to listen to music and for an occasional reference to a YouTube installation video to bolster my confidence that I was doing everything properly.
All in all, I think I spent about 90 minutes on the whole job, for both taillights. Not bad at all, considering I’d never done that before. And I’m very pleased with how much cleaner it looks now. The best part? My friend Tom came over last week and we hooked it up to my Jeep’s towing harness to test both the harness and my wiring job. And both work great!
Next up: Moulding trim and the spice rack
Recent Comments