
I’ve been so busy working on the trailer, and sorting and packing up my household items for storage, donation or my upcoming moving sale, that I haven’t had time to post here for a couple months.
Frustrations
At first, it was quite frustrating, because every weekend except two, all spring and early summer, was rainy, stormy, or insanely hot and humid. That put limits on how long and how often I could work in the tiny confines of the trailer.
At that point, I didn’t yet have batteries, so I had no lights or even a fan to move some air around. That told me what things would be like living in there without air conditioning, which I’m still trying to figure out how to deal with. But then, I had bigger problems. I needed to get productive and get stuff done!
So I went out in little snatches of time I could get between work projects (as in, the kind I do to make a living), on weekday evenings as the days got longer, and as much of the weekends as I could stand.
I had to change up my planned schedule to work on mechanical things during the worst hot, humid or rainy weekends, because without any air moving, there was just no way paint was going to dry. So, the next several posts will be about those types of projects.
Getting Back To Work
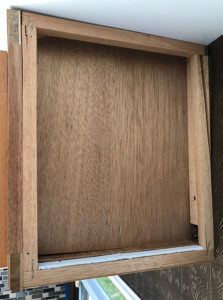
You can plainly see how the rear cupboard support split vertically. I was amazed it didn’t make things wobbly, but it’s solid!
The first was a fairly easy, low-impact job: Finishing off the header on the end of the over-sink kitchen cupboards. You may remember there had originally been an old stereo speaker, long out of service, mounted there.
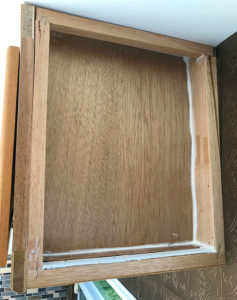
I caulked the interior so no dirt or ants or anything would get in or out of my planned spice rack.
As mentioned in a previous post, I had planned to put a spice rack in that space, but after I’d spent not a small amount of time leveling it out and making it look nice, it ended up being too shallow to practically hold even small spice jars. I was pretty disgusted at having wasted the time, but I did learn some things about applying veneer, etc., that I’ll likely use again at some point, so I guess it wasn’t a total waste.
I decided to cut a piece of 3/16″ luan—a thin, lightweight, yet relatively strong plywood—to match the silhouette of the cupboard end, fasten it on, then attach a lightweight wire spice rack on the outside.
So that’s what I did. I spent the next few weeks shopping online and in stores for the right kind of rack. I had chosen a Southwest decorating theme, so whatever I chose needed to be at least not too fancy, and at best, kind of rustic.
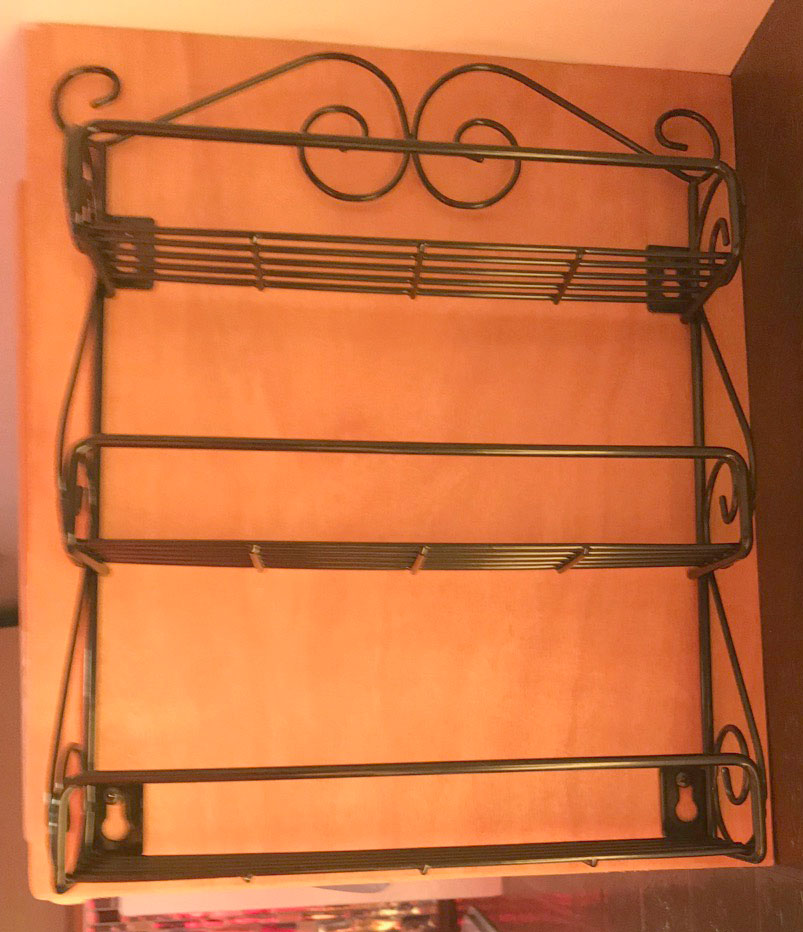
I found both types, but the one I liked best for looks was way too heavy and way too expensive. I ended up finding a vendor on Amazon with just the right style, size, weight and color rack. It mimics the appearance of wrought iron, and I’m very pleased with how it looks.
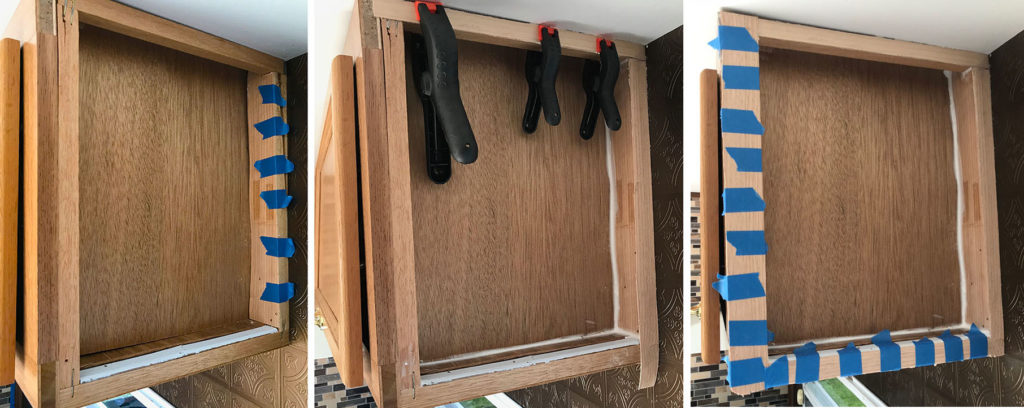
I used various clamping and taping techniques to add veneer, when I still thought I could use the cupboard end as a built-in spice rack. If I’d have just measured its depth early on, I could have saved myself a lot of time and work.
It took me a few sessions to measure and cut the wood, and then to shape it. The challenge was that over the years, the cupboard frame had pulled away from its main back support, and the shape was now out of plumb, not square at all. The support had somehow been reinforced, because it wasn’t at all loose or wobbly, but the overall shape of the end was definitely kind of wonky.
Nevertheless, I managed to get it shaped and the edges finished and prepared for mounting. Because of the wonkiness, the board didn’t fit completely flush against the end, but I knew that would be okay. I was going to put a soft, rubber bumper along the seam once it got painted anyway, to make sure I wouldn’t hurt myself when I inevitably banged my head on it at some point. The bumper would cover that up.
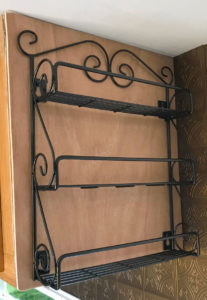
The finished rack, attached and mounted.
So, I left the wood bare in preparation for the woodwork painting, which I would start after the electrical work was mainly done. And I was pleased with how the actual wire rack turned out.
Recent Comments